How to Make a GIF From a Video
To make a GIF from a video, open the clip in a converter, choose a start time and a short duration, set the frame rate and the width, and download the result. It takes about a minute, and with our tool the video never leaves your device. The choices that matter are the three that decide how heavy the GIF gets: how long it is, how wide it is, and how many frames per second it plays.
How to make a GIF from a video, step by step
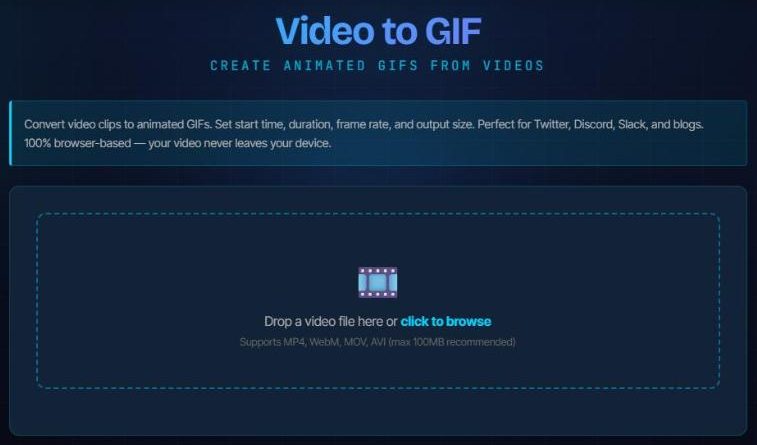
- Open Video to GIF and load your clip. Drop an MP4, WebM, MOV or AVI file onto the Video to GIF page. It plays in your browser and nothing is uploaded; the page recommends files up to 100 MB.
- Find the start time. Play the preview, stop where the moment begins and type that second into Start Time.
- Set a short duration. Enter how many seconds to capture. The tool stops at 15 seconds, and 2 to 5 is where most good GIFs live.
- Choose frame rate and width. The defaults are 10 fps and 480 pixels wide, which is a sound starting point. Raise the frame rate for smoother motion and narrow the width to shrink the file.
- Create the GIF, check it and download. Press Create GIF, watch the preview and read the file size. If it is heavier than you want, change one setting and run it again.
The tool is Video to GIF. It runs in your browser and puts no watermark on the result.
Choose the clip before you touch a setting
A GIF is a poor container for video, and every second you add costs more than you expect. It has no sound, and each frame is limited to 256 colours, so gradients, skin tones and sunsets turn blotchy. Short, single-subject moments with a clear start and end work best: a reaction, a gesture, one interaction in an app. Screen recordings and scenes with few colours squeeze far better than busy live-action footage.
Pick a moment that ends where it began, or that ends cleanly, because a GIF loops. If the source is too slow or too fast for the point you want to make, change it first with the video speed changer and cut the GIF from the result.
Frame rate, width and file size
Three settings control the size of the file, and they multiply. Duration times frame rate gives the number of frames, and the width sets how many pixels each frame has. Halve the length and you halve the frames; narrow the width and every frame shrinks.
- Duration. The cheapest saving. Two to five seconds is usually enough.
- Frame rate. The slider runs from 5 to 25 fps and starts at 10, which looks smooth enough for most reaction and tutorial clips. Go up only if the motion looks choppy.
- Width. Choose it for where the GIF will be shown. A width of 320 to 480 pixels is plenty for a chat message or a blog column, and the height follows automatically.
- Quality. A slider from 1 to 20 where a lower number means better colours and a bigger file. Leave it at 10 until you have a reason not to.
Change one setting at a time, so you can see which one paid off. Scenes with little movement and few colours shrink the most; fast footage with a detailed background shrinks the least.
Pick a frame rate that a GIF can actually store
A GIF stores each frame’s delay as a whole number of hundredths of a second, so the only exact frame rates are 100 divided by a whole number. 25, 20, 10 and 5 fps are exact. 15 fps becomes 14.29, and 30 fps becomes 33.33, which makes ten seconds of video play in nine. We measured all of it in 30 FPS Does Not Exist in GIF. In practice: use 10 fps by default, and 20 or 25 when you want it smoother.
After you have the GIF

- Wrong speed. The GIF speed changer retimes a GIF by changing its frame delays, and shows you the delay of every frame.
- Too heavy. Convert the GIF to MP4. A video is usually a fraction of the size of the same animation as a GIF, and it plays at the rate you chose. It does not autoplay everywhere a GIF does, so check where it will be posted.
- Limits. Sites and apps set their own limits for GIF size and length. We do not list them, because they change; check the one you are posting to.